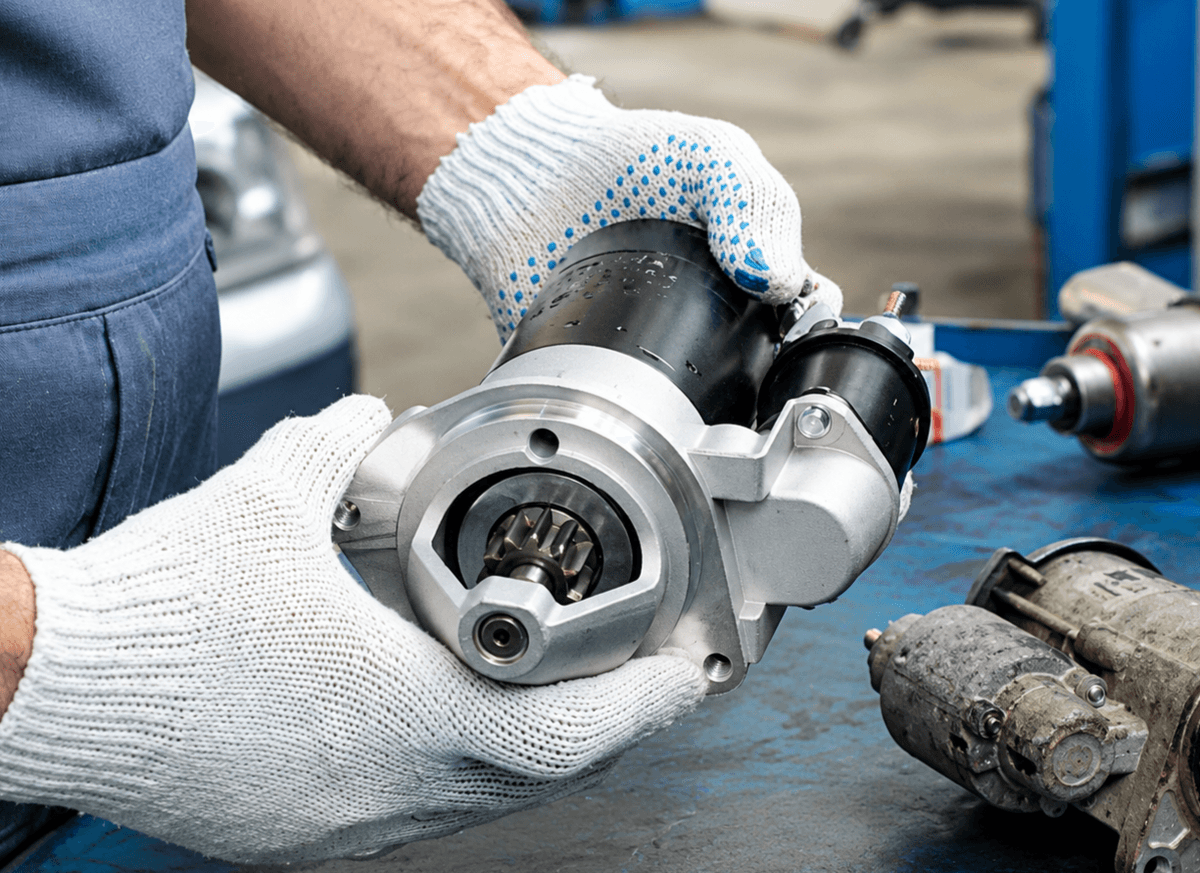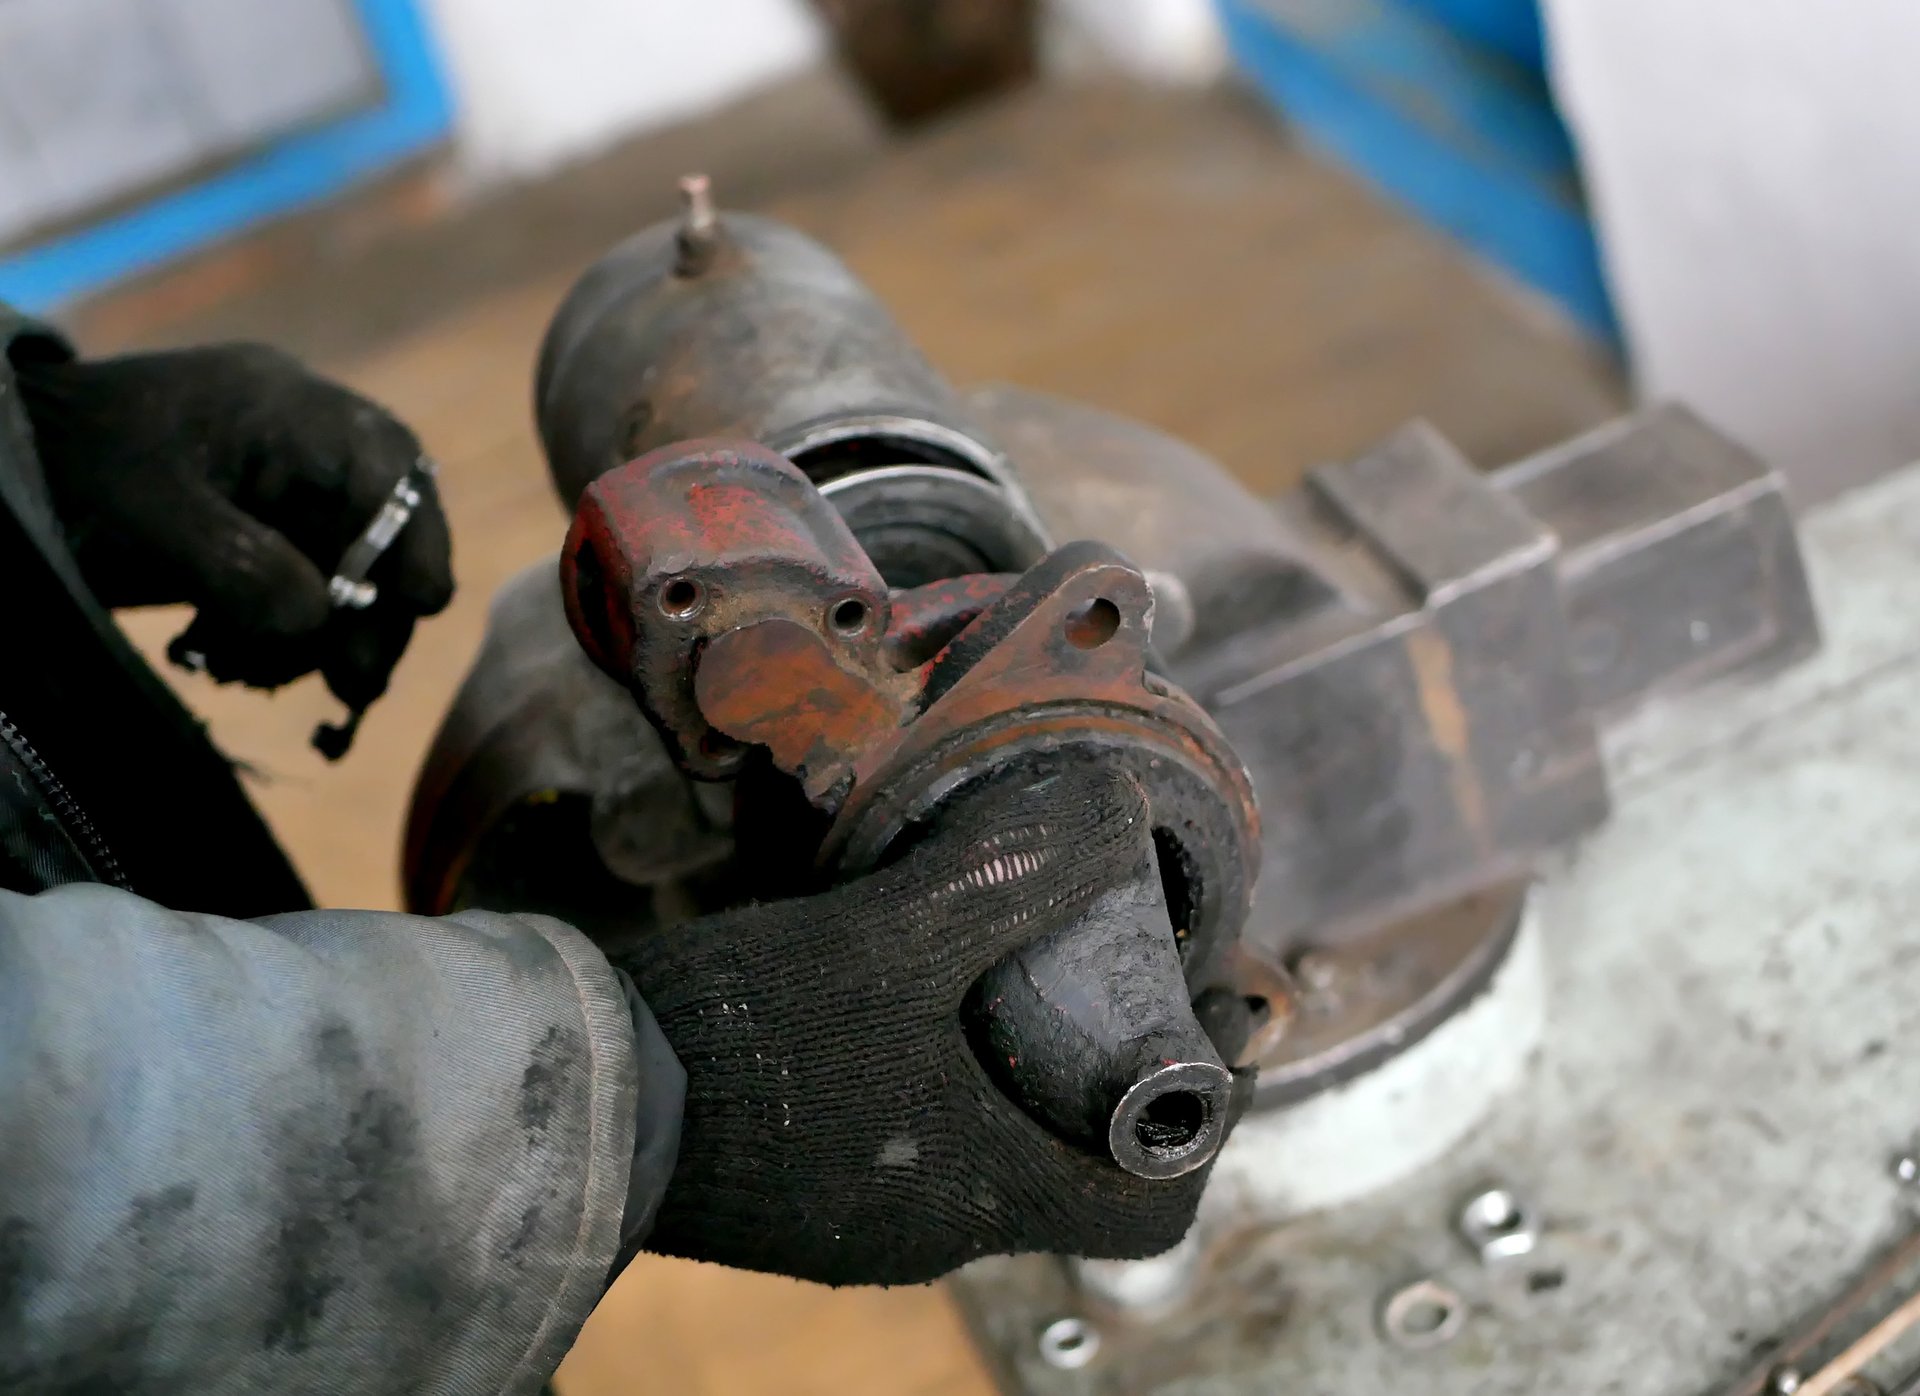
Bench testing measures a starter motor's voltage, current draw and rotation speed before installation. Readings outside 10-11V under load, 150-250A or 3,000-5,000 rpm reveal shorted windings, worn bearings, poor contacts or gear damage early.
版权所有 © 2020-2026 SINTLY。保留所有权利。
Bench testing is an off-car operation to inspect starter functionality. For suppliers and buyers, it’s necessary for you to measure the original performance before installation. The testing directly matters to the starters’ quality and lifespan. You may rework and return the products, leading to delivery delay and even reduced customer satisfaction.
With a complete set of tests, you can evaluate the starters accurately and diagnose the underlying starting problems, rather than testing a starter without removing it. The tests consist of voltage, rotating speed and current draw. Before starting the test, you need to prepare the following tools and information:
Tools and Instruments
During the testing, pay your close attention to the clothing against getting caught by the starter gear. Follow the proper installation procedure: always connect the battery’s negative terminal first, then the positive.
Step 1: Check the battery: A fully charged battery reads 12.4V~12.6V. Below 12.4V, the battery directly affects the accuracy of the test result. If the battery lacks energy, you should use a battery charger to power the battery first.
Step 2: Secure the starter with a vise: A high-speed spinning gear would move the starter. It may damage the starter and result in inaccuracy as well.
Step 3: Connect the battery’s negative terminal and starter case: Using the black negative jumper cable correctly and ensure it’s a complete circuit.
Step 4: Connect the battery’s positive terminal and the solenoid stud- B terminal: Using the red positive jumper cable properly and don't confuse B terminal and S terminal.
Step 5: Connect the meters: Voltmeter, ammeter and tachometer are individual instruments, so they can connect to the starter together:
Step 6: Connect the jumper wire to the B terminal: the other end leads to the S terminal.
Step 7: Connect the jumper wire to the S terminal: Touch the other end of jumper wire to the S terminal of the solenoid, just last for 1~3 seconds. Or, it’s safer for you to use a remote-start switch.
Step 8: Observe and record: the reads change immediately when the current flows in the circuit.
A multimeter is often used to test the starter voltage rather than its current draw and rotation rating when simulating the actual operation. Because the multimeter can’t withstand the current flowing when the starter works. It’s efficient for you to prepare a voltmeter, ammeter and tachometer to complete the comprehensive testing.
A starter without a solenoid is generally used in older vehicles. When you’re testing, the battery negative terminals also connect to the grounding. One end of red jumper cables leads to the input terminal ( is the B terminal in the starter with a solenoid ). Once the red jumper cables touch the input terminal, the starters engage and the gears spin at a high speed.(Also it’s safer to use a remote-start switch)
When a car starter functions normally, the engagement and disengagement perform fast within 3 seconds. Also, you can see the gears move out and in to start the “engine” and all readings are as follow:
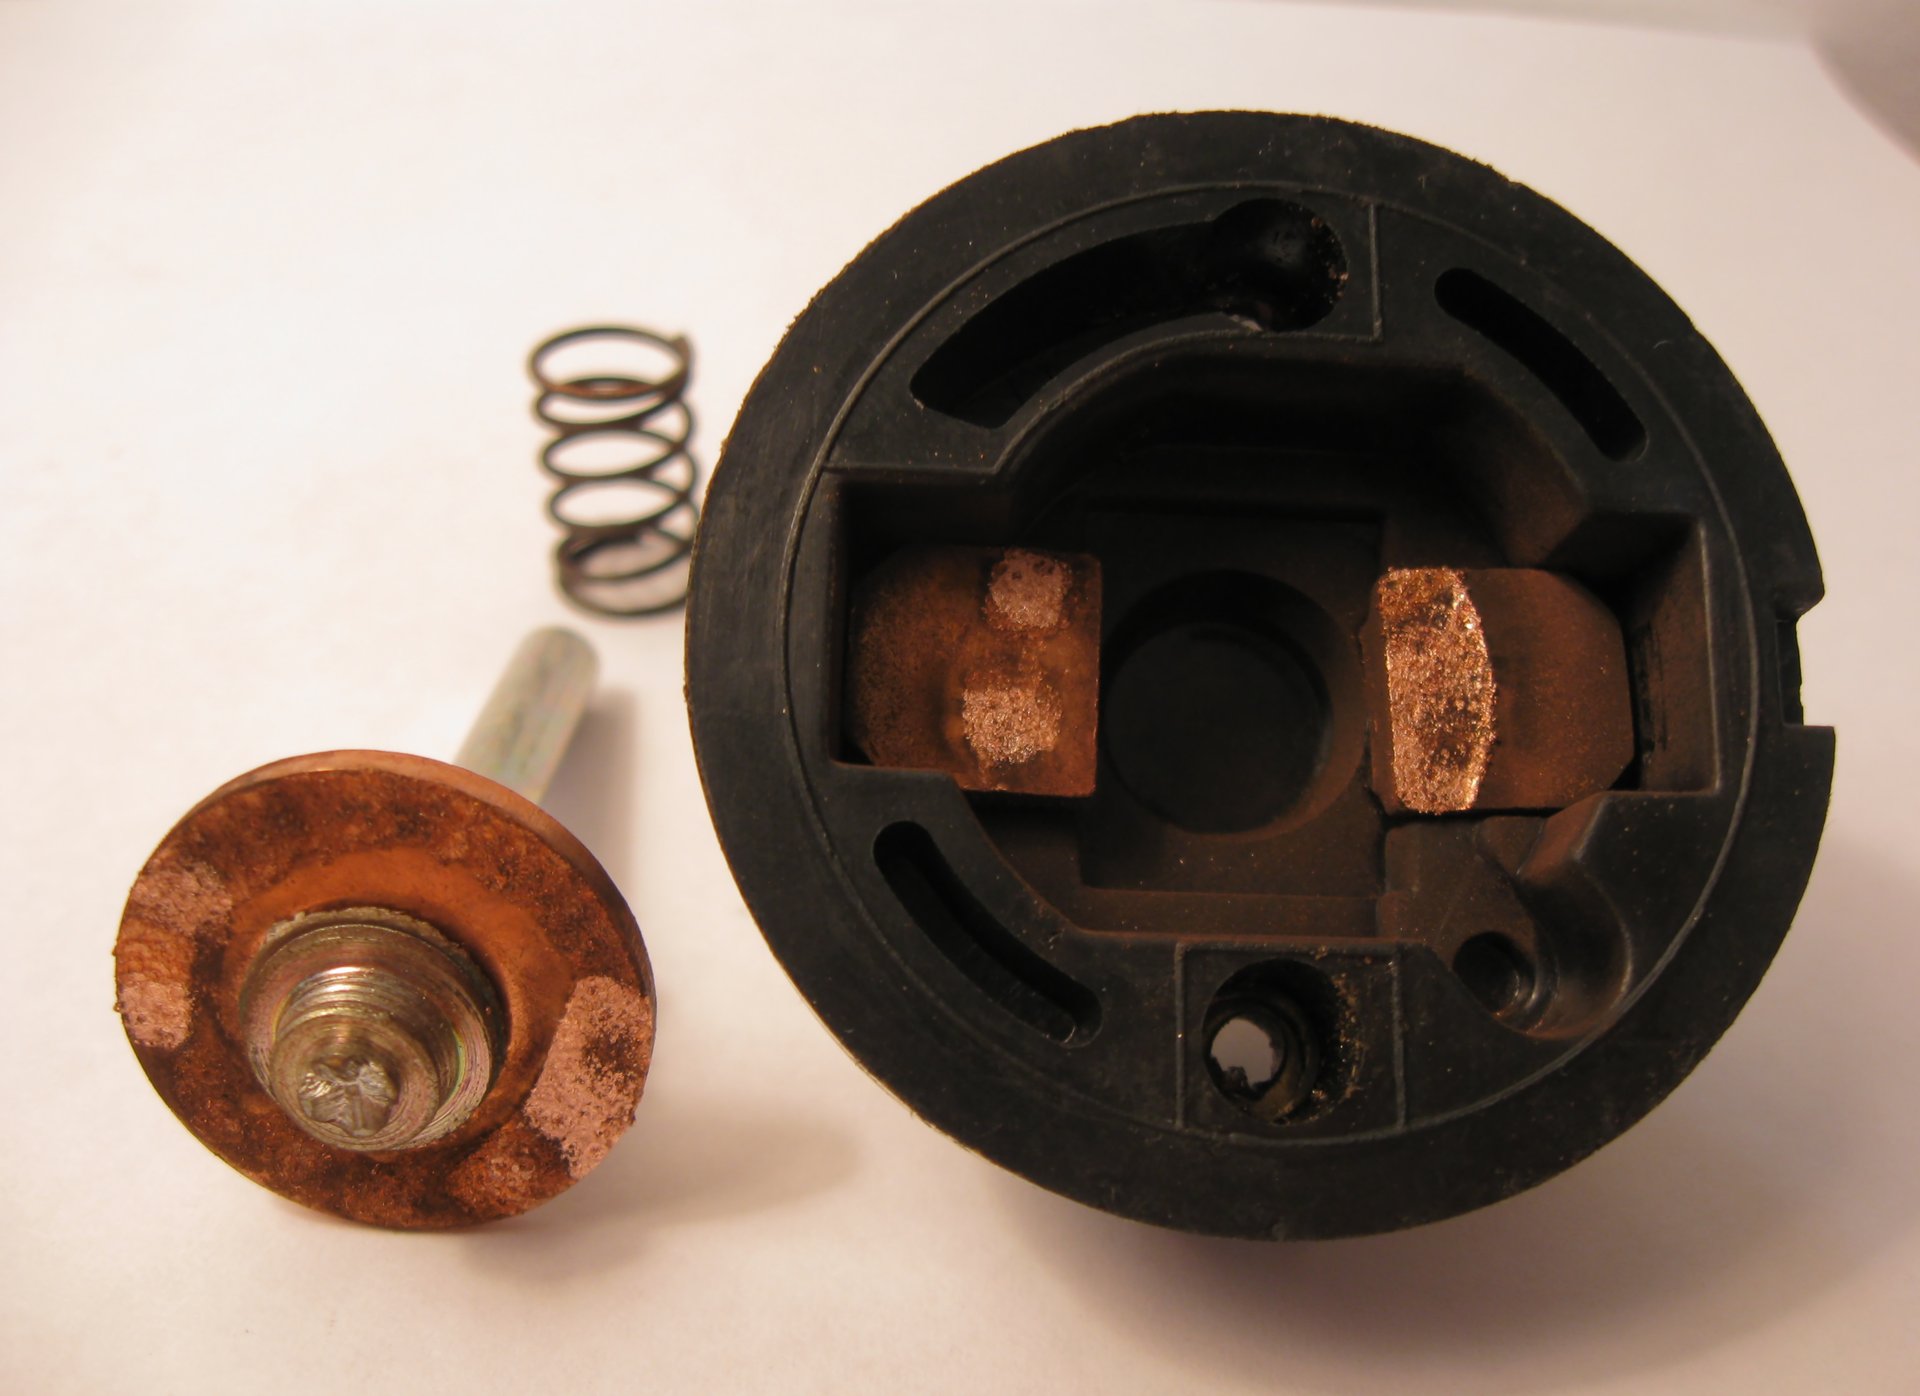
If the car starter exceeds or fails to meet the normal readings above, you often notice a loud clicking or slow spinning. Even worse, the starter has no response to the signal.
There are some common reasons:
Whatever you diagnose the root cause during the bench test, the starter would perform worse in the actual environment.
From the results, you can evaluate the production quality and quality control capabilities. As a buyer or supplier, you can make a careful decision to partner with the starter (parts) suppliers or not. Purchasing the starter parts for replacement is also an acceptable solution.
To enable the starters to function optimally, you simulate the real-world environment and analyze every aspect before sales and installation. This would assess the issue of returns and improve quality control.
Follow step 3 and step 4 to connect the battery. Then the power probe adds extra power to the S terminal, driving the flywheel to engage the gear.
You can use a multimeter to test a starter solenoid to check it for potential problems.

Starter
There are 5 signs of bad starters to help you find out the exact cause.

Starter Solenoid
A starter solenoid that passes a bench test can still fail under real starting conditions. What matters for bulk orders is confirmed specifications, tests under load, samples from production tooling, and batch traceability that can contain a defect.

Starter
There are 5 signs of bad starters to help you find out the exact cause.

Starter Solenoid
A starter solenoid that passes a bench test can still fail under real starting conditions. What matters for bulk orders is confirmed specifications, tests under load, samples from production tooling, and batch traceability that can contain a defect.