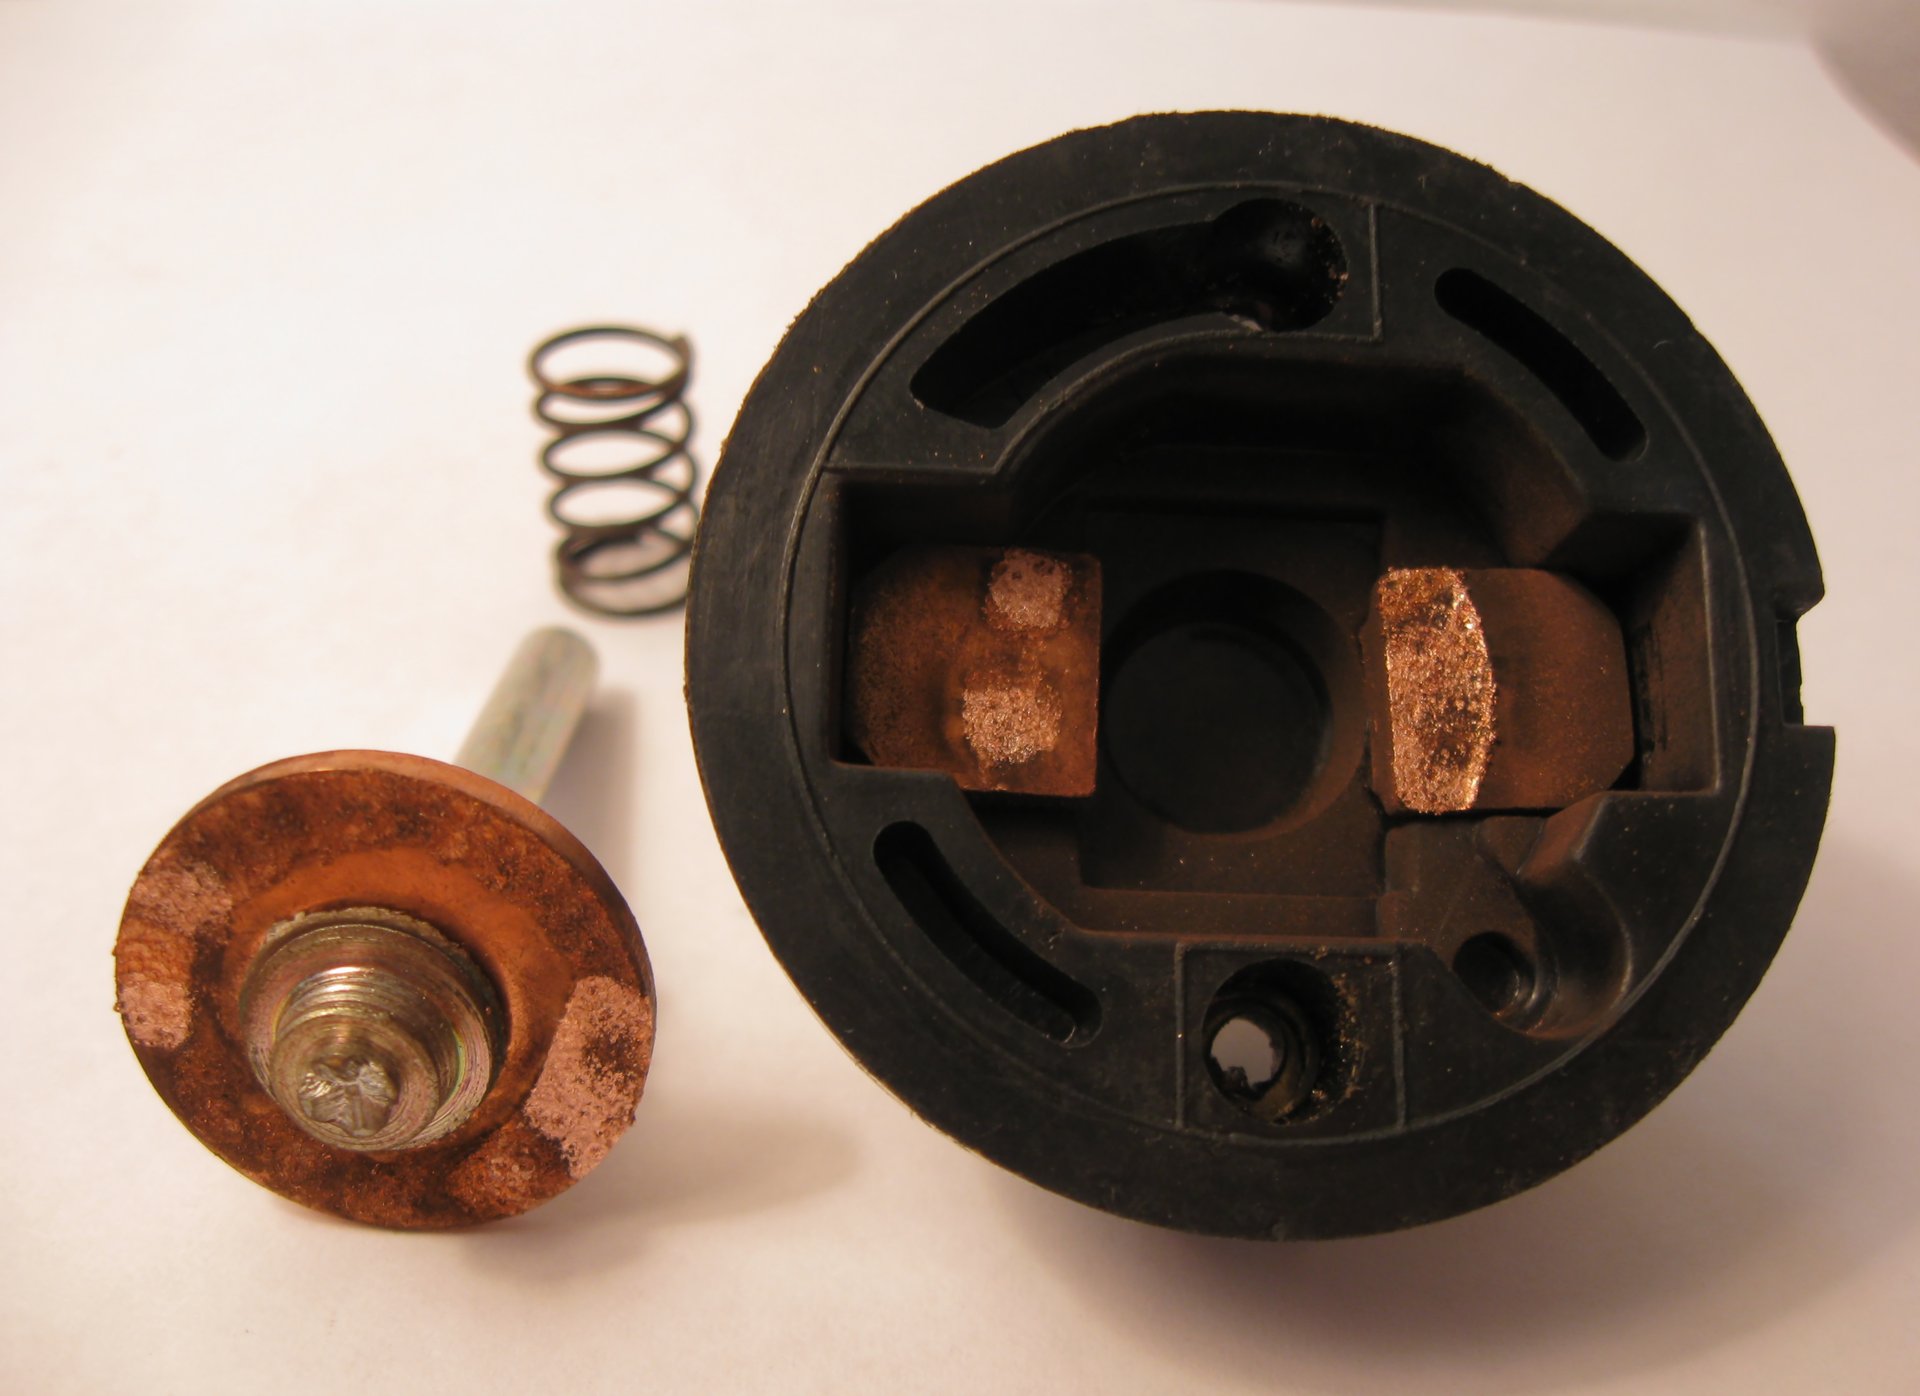

Replacing an alternator is relatively easy and do it yourself
Replacing an alternator is relatively easy and do it yourself
The alternator converts the mechanical energy from the engine to electricity, powering the electronic accessories and charging the battery in your vehicle. If any part fails, it affects other working components. Therefore, if you notice signs of a faulty alternator, replace it earlier.
The starting system components are closely linked, so you should take some time to troubleshoot first. The alternator replacement price is between $130 and $200, not including the labor cost. If the exact cause is a bad battery rather than a bad alternator, it’s a waste of your time and money. So, test the battery with a multimeter before replacing your alternator. Read the voltage with the engine running or off to check an alternator.
We need to test the battery’s voltage when the battery is at rest, when the engine starts up, and with the electrical components turned on.
Step 1: Ensure your battery is fully charged. Locate the battery based on your vehicle’s model and make. Connect the multimeter’s red lead with the battery‘s positive terminal and the black lead to the ground. A fully charged battery usually reads 12.6V -13.2V at rest (the voltage will be over 13V when the battery is just charged). If the voltage is below 12V, charge the battery before testing further.
Step 2: Start the engine to check for voltage change. A healthy battery voltage should rise to 14.2V-14.7V, with the battery powering the engine’s start-up. If above 14.7V, it indicates that the voltage regulator can’t work properly.
Step 3: Turn on electrical accessories such as headlights, audio system or radio. At this point, the alternator powers these accessories while charging the battery. The battery voltage slightly drops but stays above 13V. If not, check the battery and alternator further.
Step 4: Check your connectors. When the voltage finally drops down to below 13V in step 3, one reason for the issue may be the connectors, such as terminal corrosion, loose connectors and damaged wires. If all the connectors check out fine, the issue is most likely an alternator.
Step 5: Increase the engine speed to test the battery voltage. When the engine is at 1500-2000 rpm, the battery voltage should rise and remain 13.5V-14.7V rather than below 13V. If the alternator fails completely, the voltage will drop to 12V and a car may stall.
Before replacing, you need to prepare some tools.
Replacing an alternator is relatively easy and you can do it yourself.
Step 1: Save the vehicle’s setting. Using a memory saver connected with the OBD port or cigarette lighter can provide temporary power. This way prevents losing stored settings such as anti-theft system code, ECU data and radio. If your vehicle doesn’t lose these settings after a power cut, you can skip this step.
Step 2: Disconnect the battery. Park and turn off the engine first and locate the battery under the hood . Based on your vehicle’s make and model, the battery may be located under the rear seat or in the trunk. Put on insulated gloves and safety goggles, then use a wrench set to loosen the black negative cable of the battery.
Step 3: Locate the alternator. An alternator is generally located on the top or side of the engine. You need to dismantle some parts to access it because some vehicles have limited space. Check belt types. If it's a V-belt, you should loosen the bolts to move the alternator and release the belt; if it’s a serpentine belt, continue with the next steps.
Step 4: Release the belt tensioner. The belt tensioner is a pulley that is used to tighten the belt. If you have an older car that loosens the belts by unbolting rather than a belt tensioner, skip to Step 5. To release the tensioner, you should use a socket and ratchet set or belt tensioner tool. Be careful during this step, the tensioner spring can snap back and cause you injury.
Step 5: Remove the belt. After releasing the belt tensioner, the belt will loosen, making it easy to take off. Before removing it, take a photo to remember the route or look up a serpentine belt routing diagram online makes it easier to reassemble if the serpentine belt route is complicated for you.
Step 6: Check the belt and the belt tensioner. You need to replace the new belt you’ve prepared if you notice any cracks or heavy wear. Also, it’s time to replace the belt tensioner that is supposed to spin freely rather than run roughly.
Step 7: Remove the connectors, wires, fasteners, and wiring harness in order. Use masking tape to label the wiring harness as you go, making it easier to tell where everything goes during reinstallation.
Step 8: Remove the old alternator. Once you’ve completed all the steps above, use a wrench to take out the mounting bolts holding the old alternator in place. While doing this, check the bolts for rust and clean them if needed.
Step 9: Install the new alternator. Place the new alternator in position and align the bolts with bolt holes. Nowadays, most modern alternators are secured by transverse bolts while the belt tensioners are used to tighten or loosen the belt. Some older vehicles use transverse bolts to move the alternator and adjust the belt. If your alternator is the former, you should mount the bolts to the specified torque before belt installation. If yours is the latter, leave the bolts slightly loose, mount the belt and move the alternator to the proper tension. And then tighten the bolts to the specified torque.
Step 10: Inspect the belt tension. A simple solution is to use a ruler to measure the midpoint between two furthest pulleys, pinch the point and move the belt left and right to see if the distance is over half an inch of play.
Step 11: Reconnect everything. Install the wiring harness, fasteners, wire and connector onto the alternator in order. Then reconnect the battery’s negative terminal.
Step 12: Test the new alternator. First you should start up the engine. It’s the belt slipping that makes an abnormal sound. Second, use the multimeter to test the battery voltage which should read 14.2V-14.7V.
It's easy to change an alternator nowadays and many DIY enthusiasts or drivers can replace an alternator by themselves.
It takes 2-3 hours to replace an alternator, including 1 hour to replace an alternator belt if needed.
Auto Mechanic, auto electricians, and the drivers who have professional knowledge and skills.
You can buy an alternator in auto parts stores or select it at an affordable price online.
An alternator is designed for durability, which approximately lasts for 7 to 10 years or works 80,000 to 150,000 miles. There are some bad alternator symptoms for you.
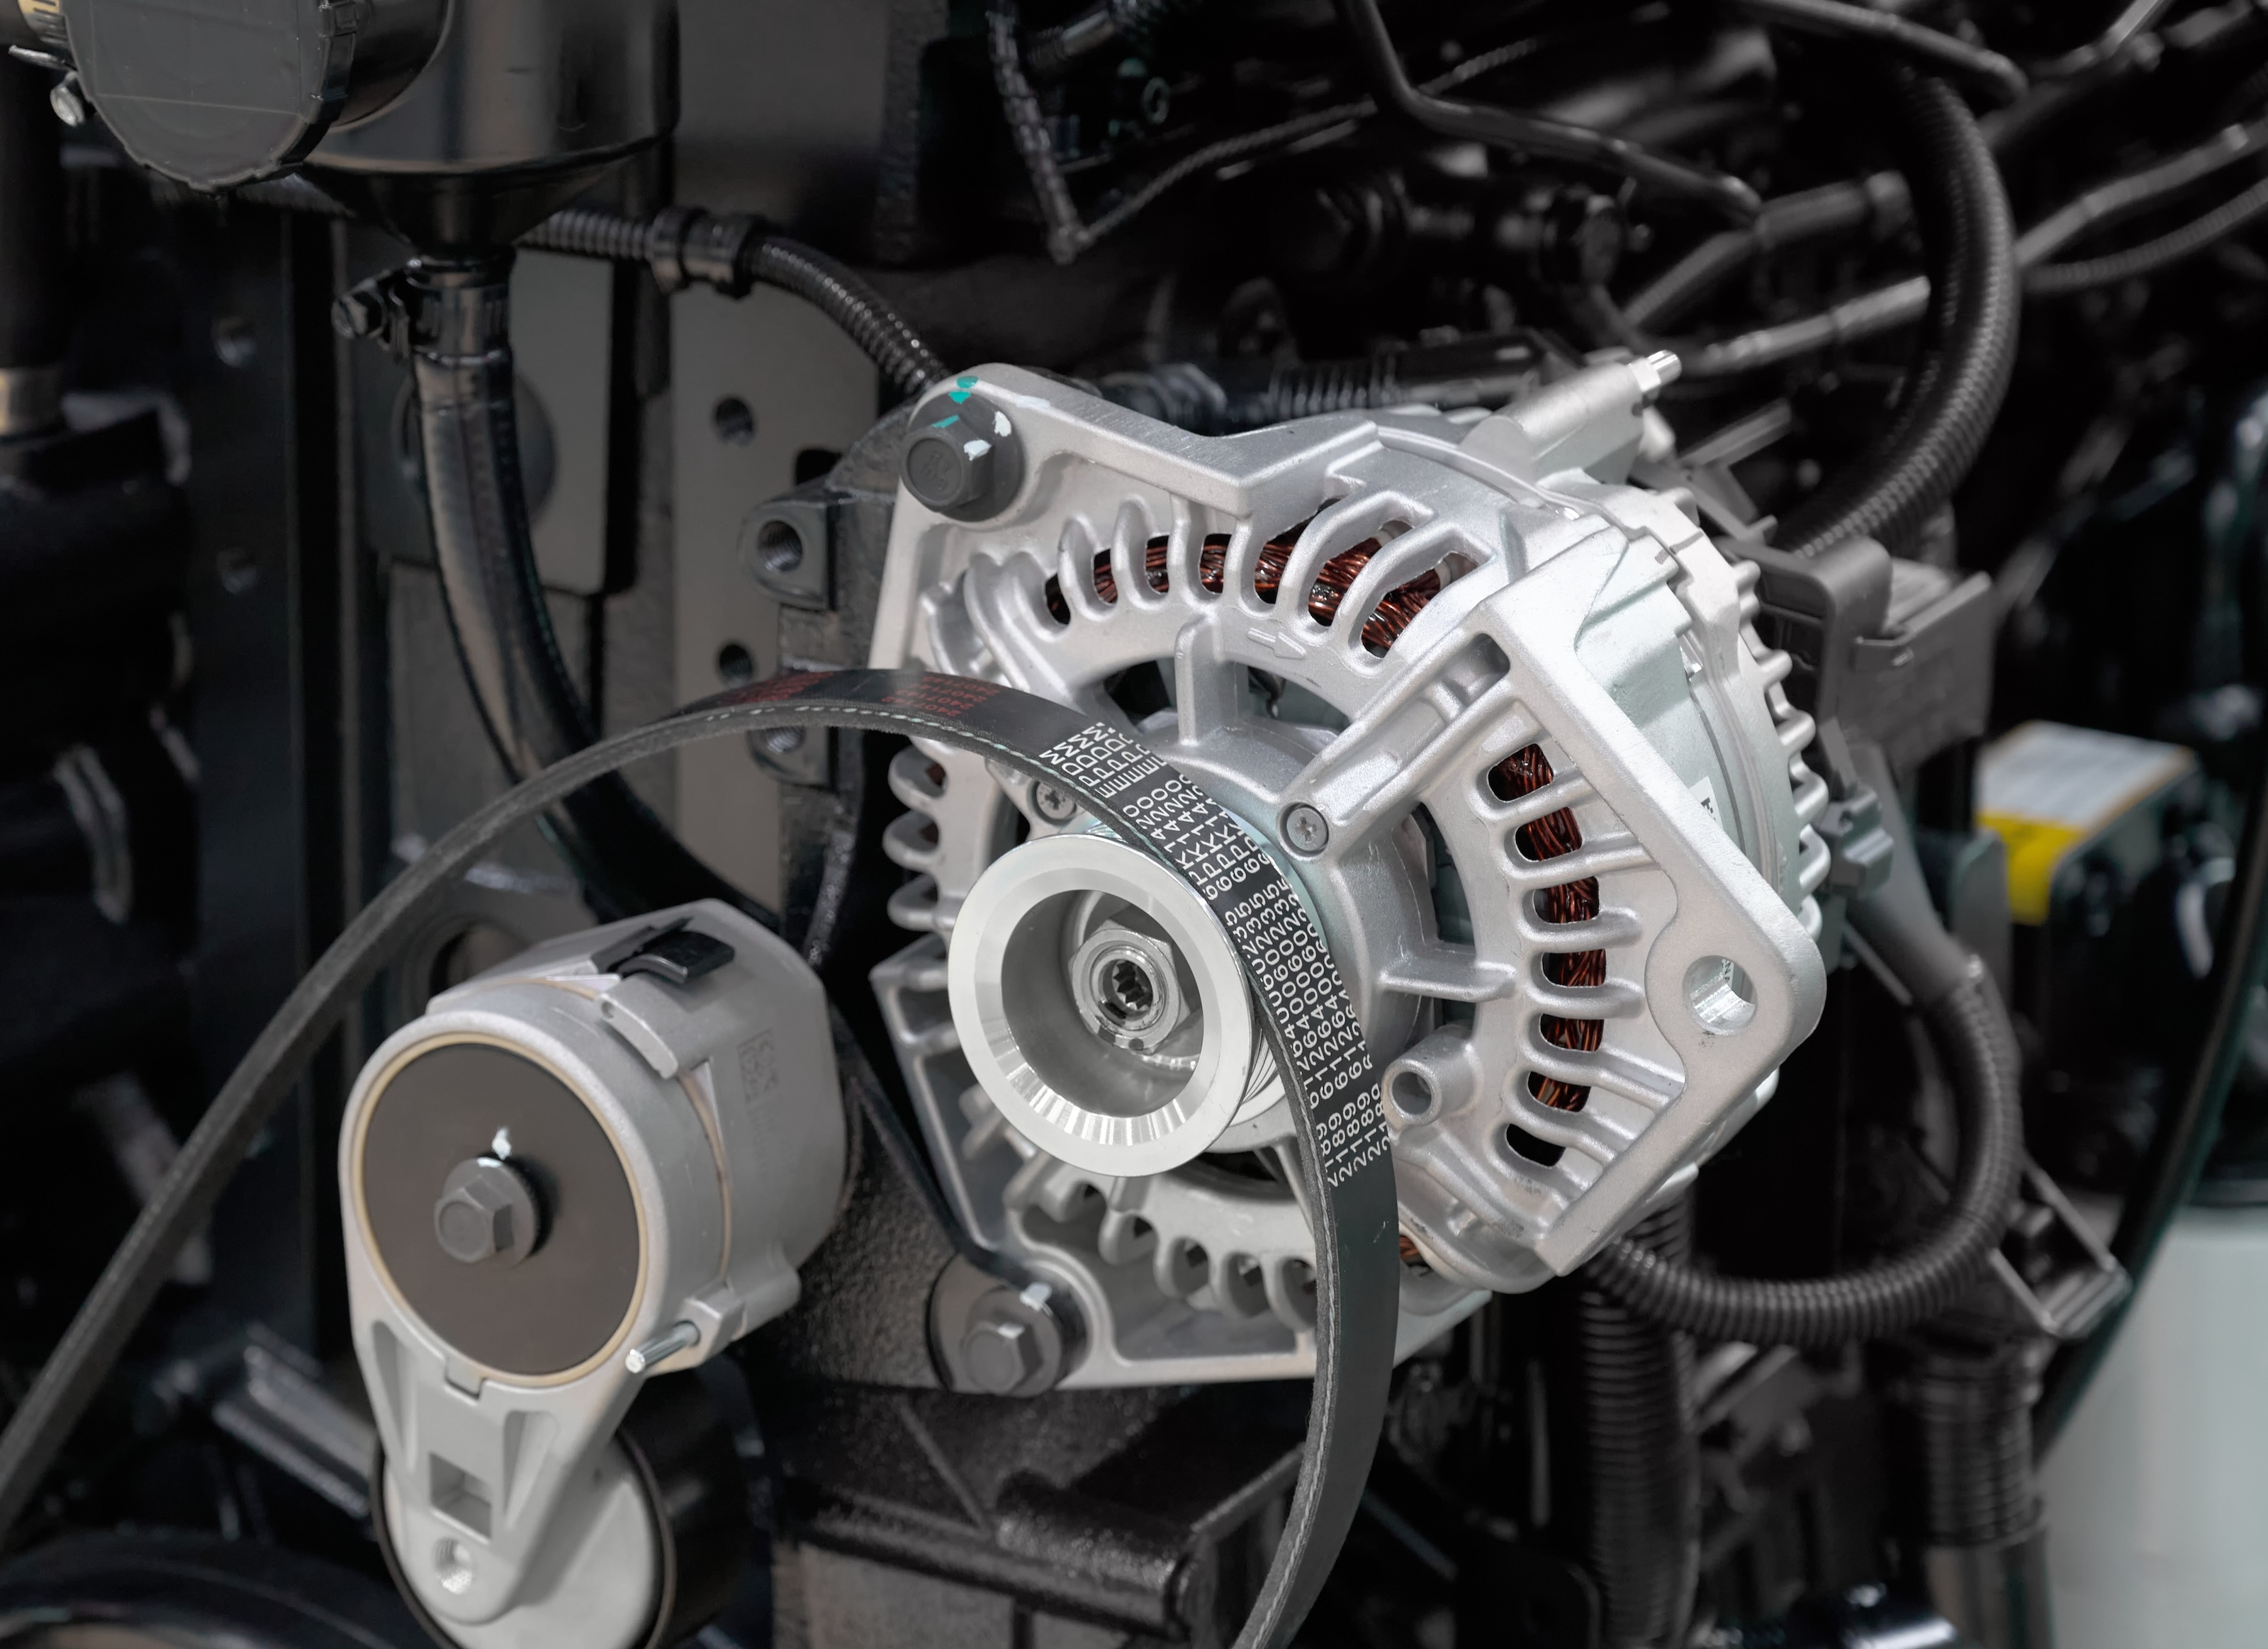
Alternator
What parts influence the quality and lifespan of an alternator? Before you buy car alternators, learn about the parts of an alternator and their functions in depth and then choose the right alternator.
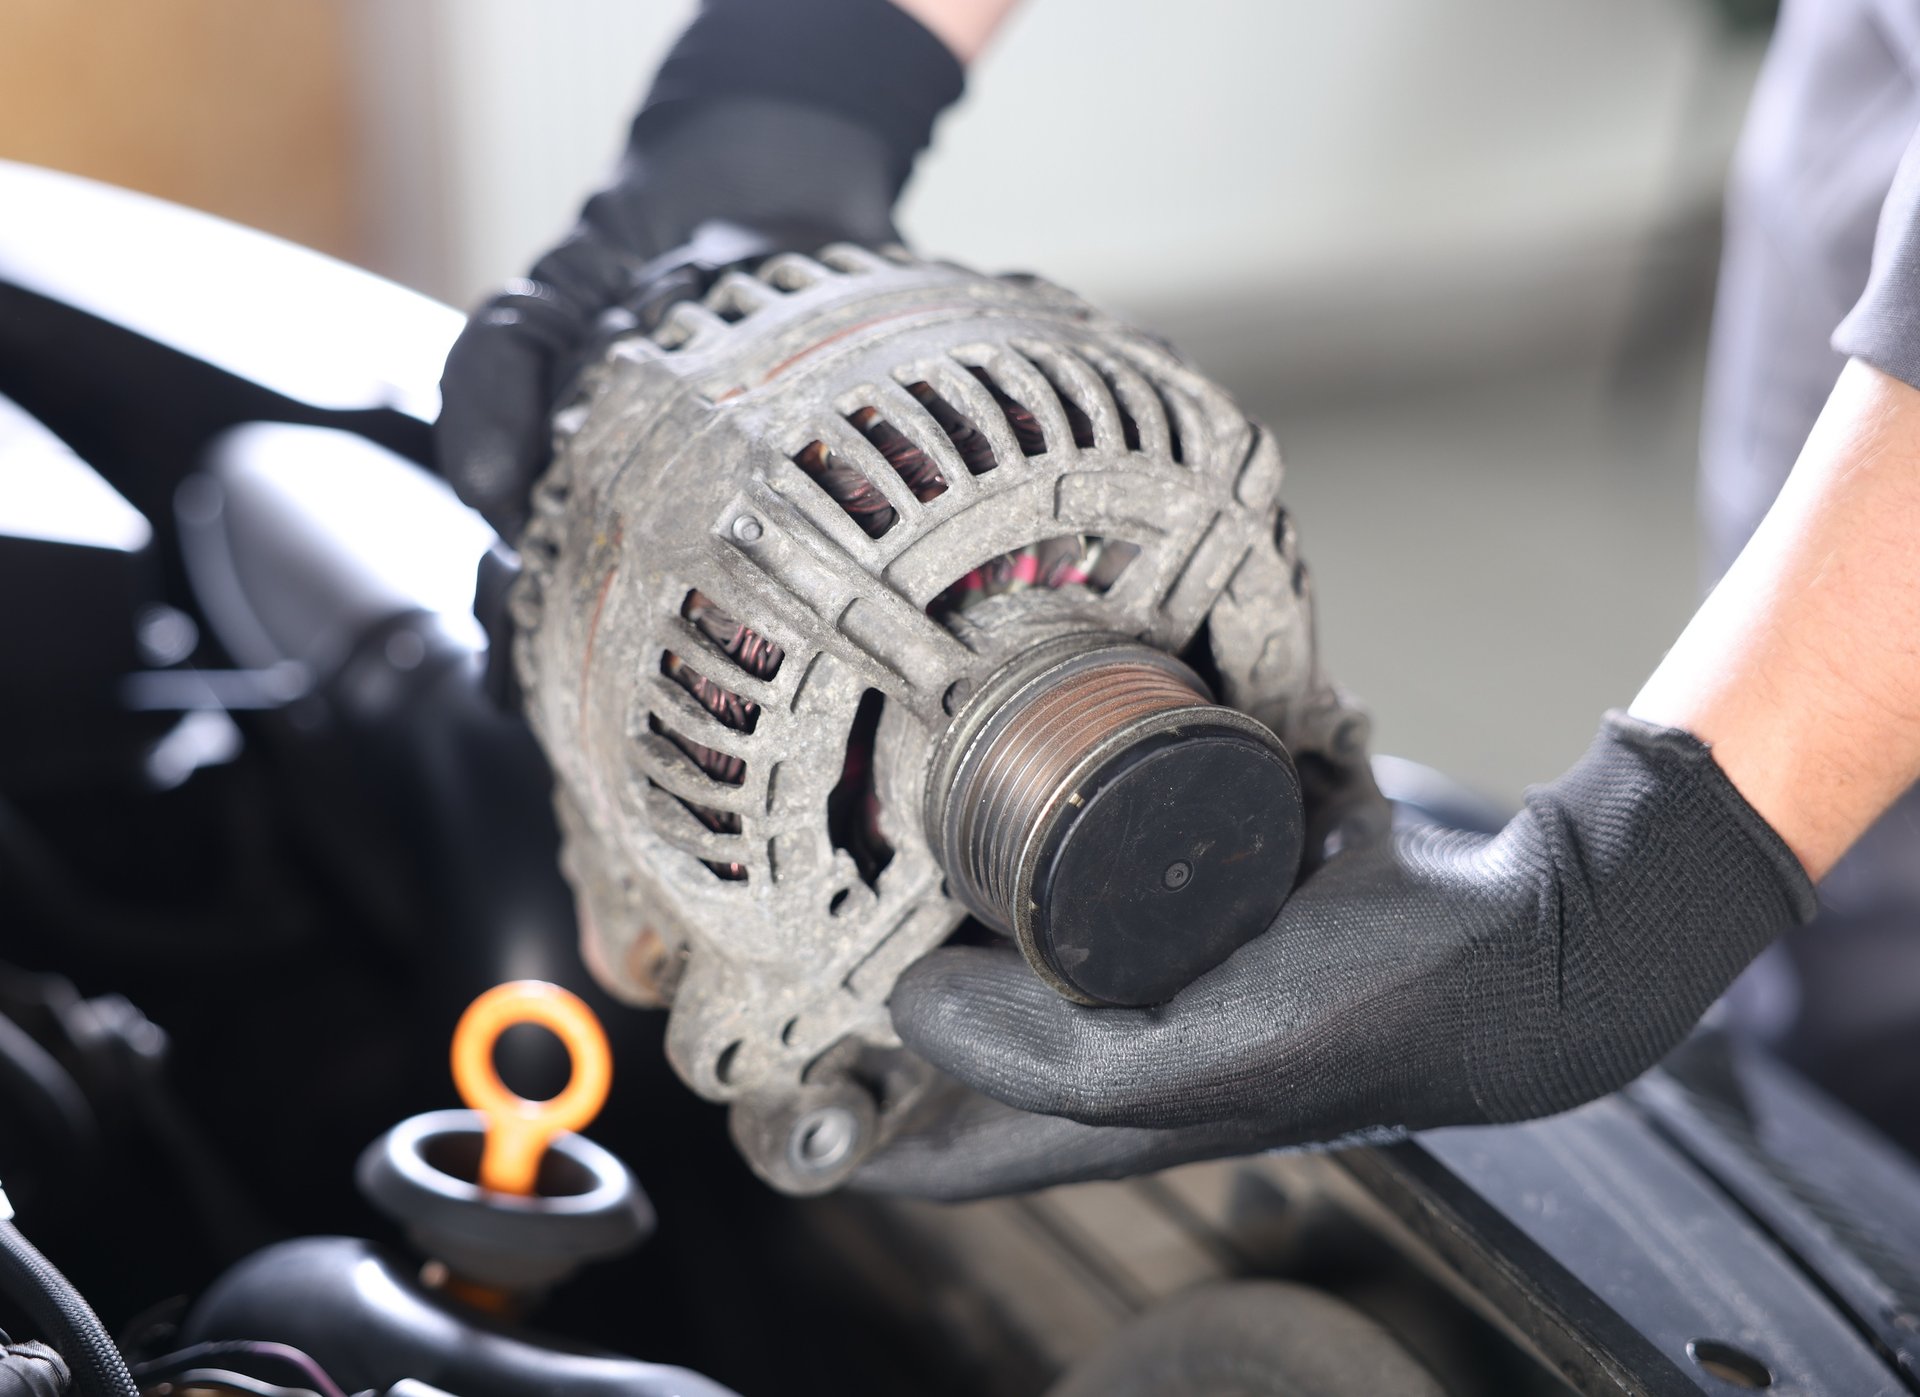
Alternator
Flickering, dim lights, hard starting, engine stalling and so on, 6 signs of your bad alternator you should watch out.
Alternator
What parts influence the quality and lifespan of an alternator? Before you buy car alternators, learn about the parts of an alternator and their functions in depth and then choose the right alternator.
Alternator
Flickering, dim lights, hard starting, engine stalling and so on, 6 signs of your bad alternator you should watch out.